How to Conduct a Health and Safety Risk Assessment: A Step-by-Step Guide for Workplace Hazard Control
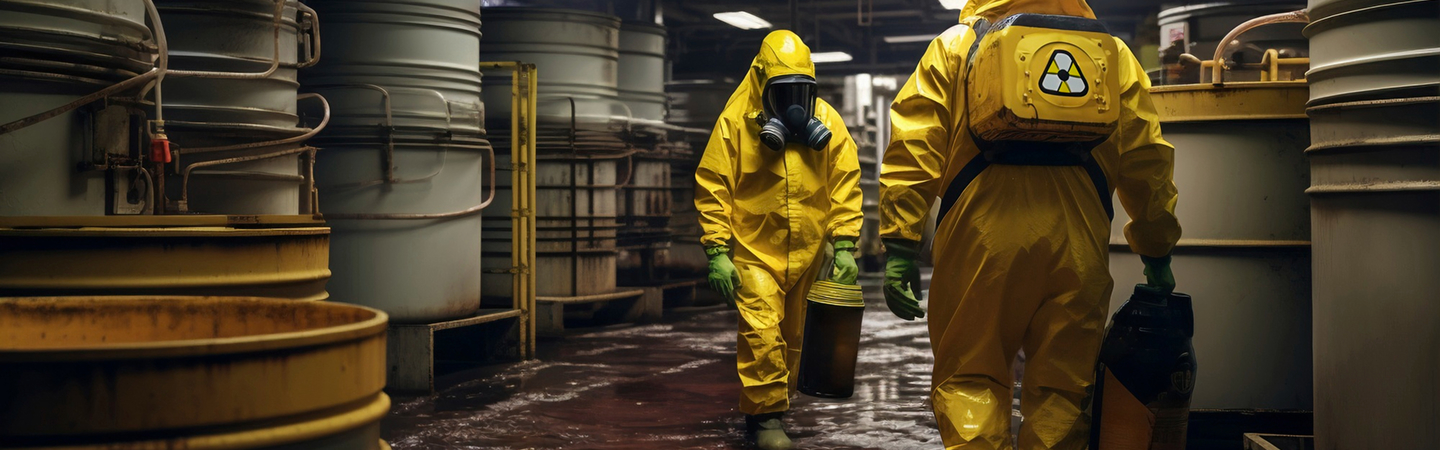
A health and safety risk assessment is your best defense against workplace incidents. The reality? Finding the hazards that could cause harm and fixing them is the best way to prevent injuries or illness in your workplace[1].
Sounds straightforward, but many organizations skip steps in the process.
A risk assessment involves looking at what could happen if someone is exposed to a hazard and the likelihood of it happening[11]. Think of it as your roadmap for identifying dangers before they turn into accidents.
This piece will walk you through the complete risk assessment process, from hazard identification to implementing controls that protect your team.
What is a Risk Assessment and Why Does It Matter?
A risk assessment is a systematic process that audits your operations. It identifies hazards, assesses the likelihood and severity of harm, and determines the additional controls needed to reduce or eliminate risks[12]. This isn't optional paperwork. Risk assessments are a legal requirement for employers and self-employed people[2].
The risk management process helps you understand the difference between hazards and risks. A hazard is something with the potential to cause harm. A risk is the likelihood of harm or injury resulting from that hazard[3]. Electricity is a hazard, for example. The risk is the likelihood that a worker might be electrocuted because of exposure to poorly insulated electrical wires[13].
Risk assessments create awareness of hazards and help identify who may be at risk[14]. Workers with different ages, experience levels, or physical capabilities may face different risk levels[5]. Consulting your employees during hazard identification ensures no hazard goes unnoticed[5].
Risk management that works makes business sense too[15]. Organizations that get a full picture reduce workplace incidents and lower compensation costs while meeting legal obligations[12]. Prioritizing worker safety and wellbeing boosts productivity and long-term organizational success[12].
The Step-by-Step Risk Assessment Process
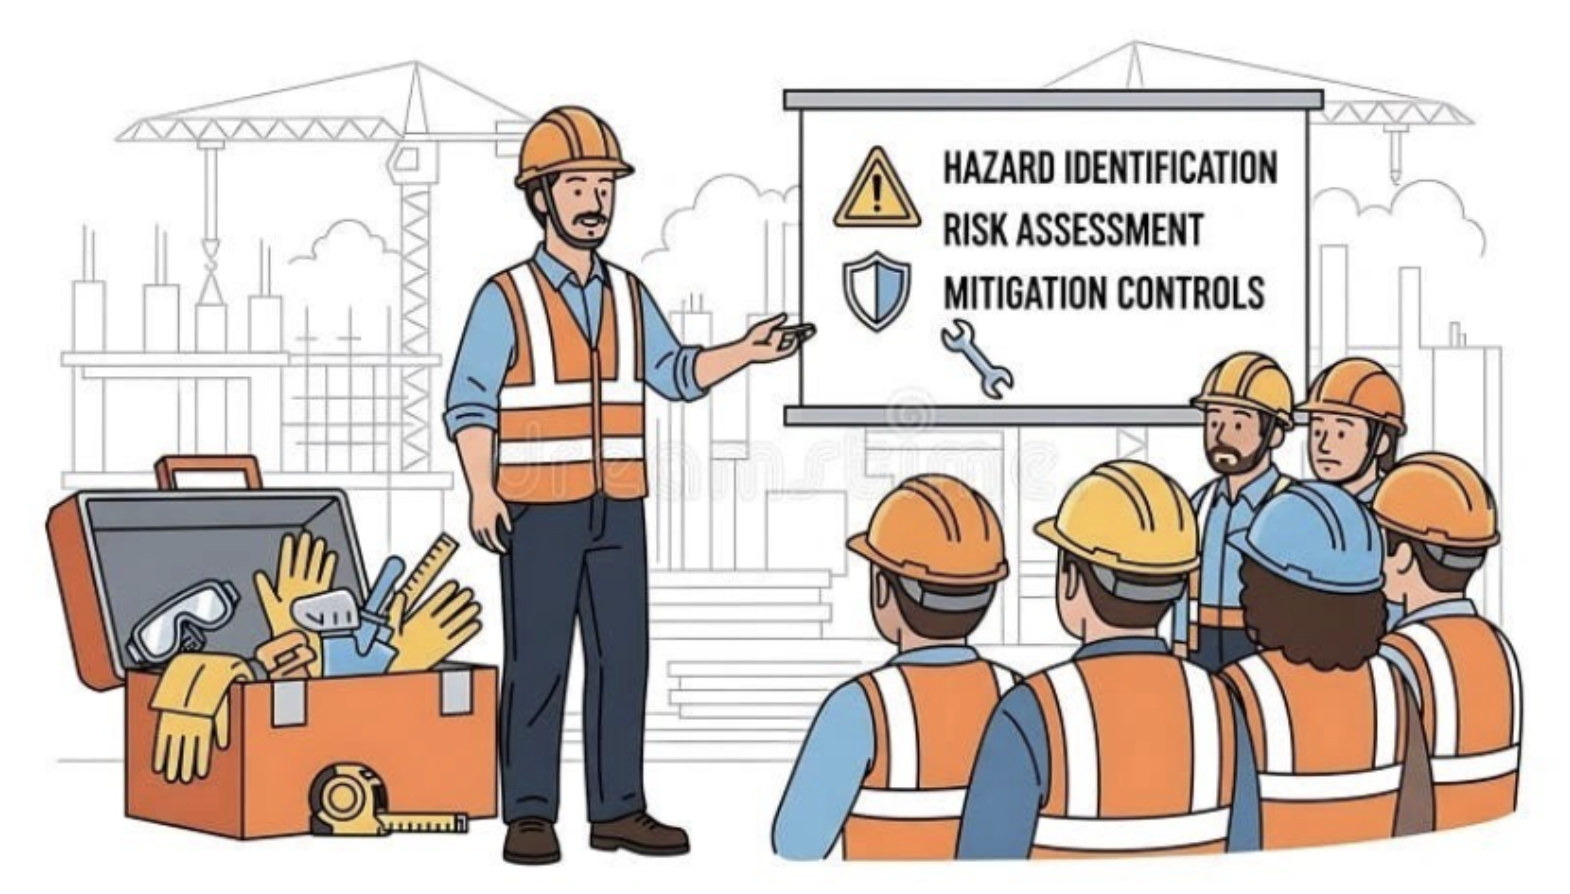
Managing workplace hazards follows a four-step risk management process that reshapes safety from reactive to proactive.
Step 1: Identify Hazards
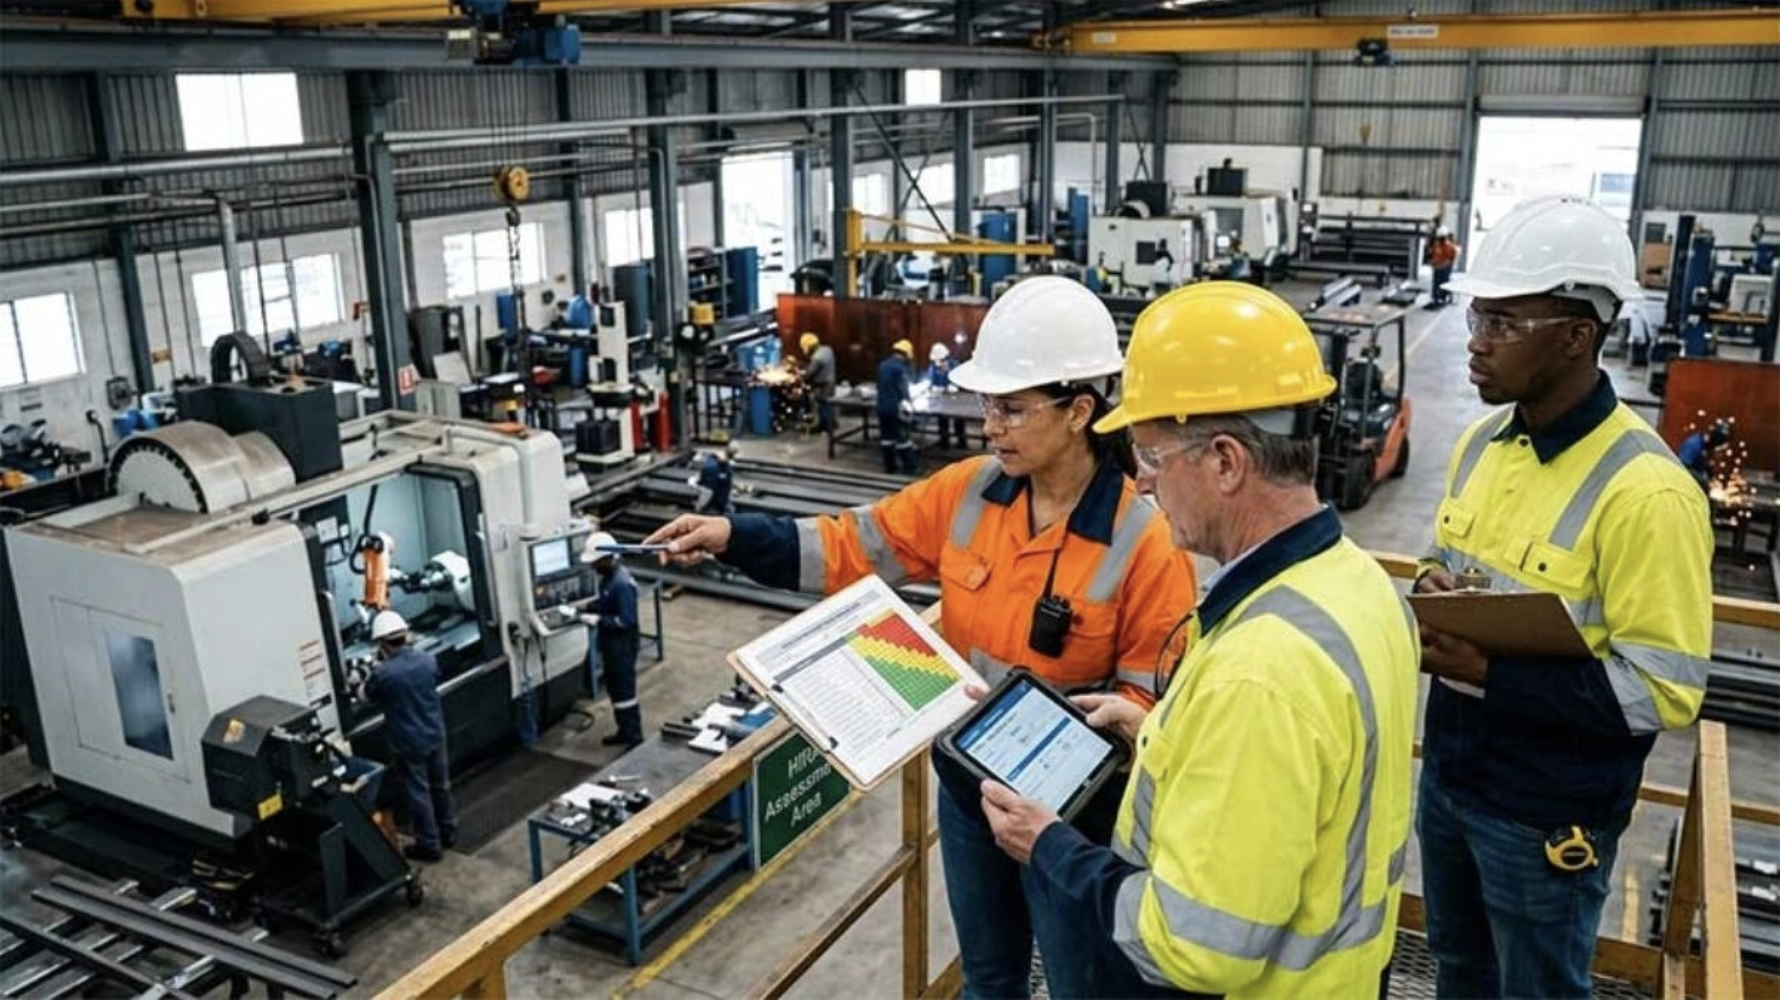
You need multiple approaches to find what can cause harm. Walk through your workplace and examine equipment, machinery, work areas and practices[4]. Employees often spot hazards first, so create channels for them to report concerns[4]. Review past incidents to understand what happened and why[4]. Break down each job into component steps and think about associated hazards through detailed job analysis[4]. Document everything you find.
Step 2: Assess Risks
Determine who might be affected and assess two factors: how severe the harm could be and how likely it is to happen[6]. You're responsible for everyone's safety at your workplace. This includes workers, contractors, customers, visitors and the public[6]. Risk matrices help plot hazards based on likelihood and consequence ratings[7]. Take action right away where high-risk activities are identified[6].
Step 3: Control Risks
Apply controls using the hierarchy of control measures and start with the most effective options. We'll cover this framework in detail in the next section.
Step 4: Review Control Measures
Controls must be reviewed at regular intervals to ensure they work[8]. Test both the design and implementation through regular programs[8]. Monitor through spot checks, assurance reviews and internal audits[8].
Understanding and Applying the Hierarchy of Control
The hierarchy of controls ranks safety measures from most to least effective and guides you toward the strongest possible protection[1]. Start at the top and work downward. Use the highest-ranked control that is practical for your situation[1]. Lower-ranked controls should serve as a last resort or temporary measure until you can implement more effective solutions[1].
Elimination removes the hazard from your workplace[1]. Repair damaged equipment or outsource processes with hazardous chemicals to companies equipped to manage them safely[1]. This control is the most effective because the hazard no longer exists[9].
Substitution replaces the hazard with a safer alternative[1]. Use less toxic chemicals or reduce package sizes to decrease manual handling risks[1]. Water-based paints can replace solvent-based options and eliminate toxic fumes[10].
Isolation separates workers from the hazard through distance or barriers[1]. Relocate noisy equipment to separate ventilated rooms. Install barriers that restrict access to dangerous work areas[1].
Engineering controls adapt tools or equipment to reduce risk[1]. Place guards on machinery or use trolleys for moving heavy loads[1].
Administrative controls change work practices[1]. Rotate jobs to limit exposure time and train staff in safe procedures. Maintain equipment on a routine basis[1].
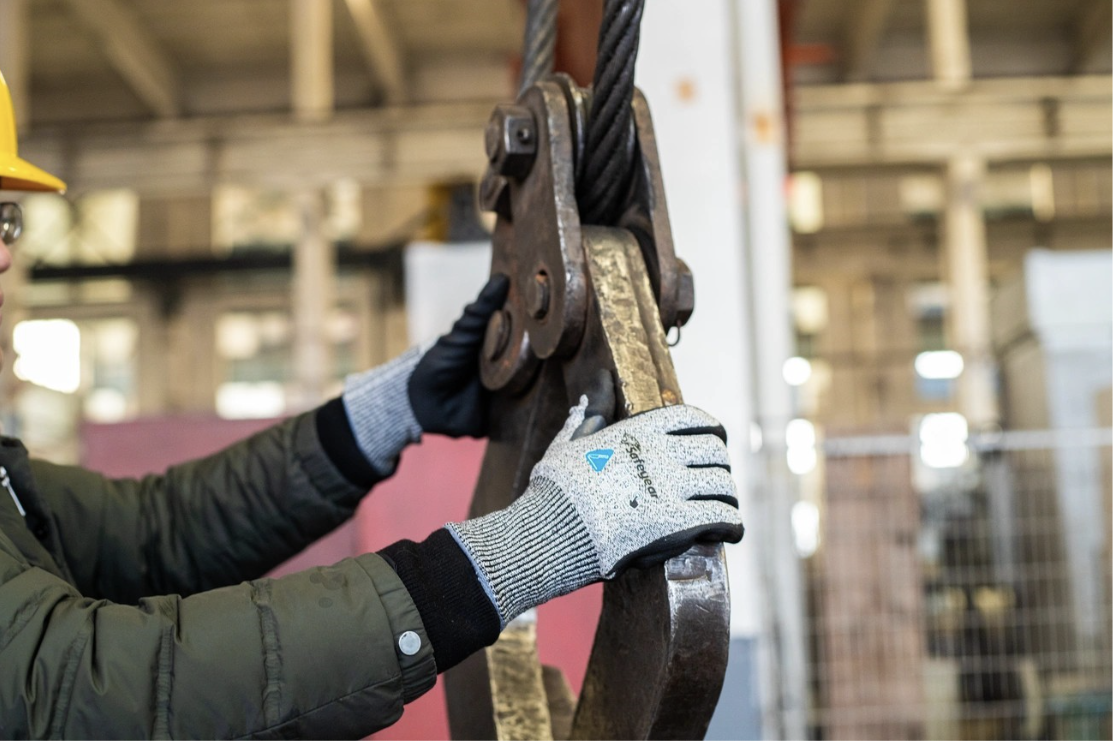
PPE is your last line of defense[1]. Hearing protection, hard hats, gloves and masks protect only when used correctly[1]. Administrative controls and PPE are least effective because they don't control hazards at the source and depend on human behavior[11].
Conclusion
You now have the complete framework to protect your workplace from preventable incidents. Walk through your facility today and identify hazards using the four-step process we covered. Apply the hierarchy of controls, starting with elimination and working your way down only when needed. Don't let this become another document that sits on a shelf. Review your controls often, listen to your workers and adapt as conditions change. Your team's safety depends on it.
References
[3] - https://www.evotix.com/resources/blog/7-benefits-of-conducting-a-risk-assessment
[4] - https://www.dnv.com/assurance/articles/what-is-hazard-identification/
[5] - https://legalvision.com.au/risk-assessment/
[6] - https://www.worksafe.wa.gov.au/step-2-assess-risks
[7] - https://www.worksafe.vic.gov.au/how-conduct-risk-assessment
[9] - https://www.ccohs.ca/oshanswers/hsprograms/hazard/hierarchy_controls.html
[10] - https://www.worksafe.vic.gov.au/hierarchy-control
[12] - https://hseaustralia.com.au/occupational-health-safety/workplace-risk-assessment/
[13] - https://www.business.qld.gov.au/running-business/whs/safe/risk-management
[14] - https://peninsulagrouplimited.com.au/resources/blog/what-is-a-risk-assessment
[15] -https://www.worksafe.vic.gov.au/office-health-and-safety-risk-management






































.png)







.png)
.png)
.png)
.png)
.png)
.png)
.png)

.png)
.png)
.png)
.png)
.png)
.png)
.png)
.png)
.png)
.png)
.png)
.png)
.png)
.png)
.png)
.png)
.png)
.png)
.png)
.png)
.png)


Ready to Save Lives at Work?
With Impress Solutions, you’re not just getting a service, you’re securing peace of mind with a partner you can trust. Book a free consultation today, and let’s map out how we can help you save lives at work.

.png)