Bow Tie Risk Assessment: Essential Principles for Hazard Safety Management

Bow tie risk assessment is a visual tool that helps organizations map workplace hazards and prevent accidents before they occur. This method identifies threats that could cause a loss of control, the potential risks, and the critical safeguards positioned between them[8]. The approach originated in 1979 at the University of Queensland[8] and simplifies complex risk management by creating visual representations of hazard scenarios.
We'll explore what bow tie analysis entails in this piece, the components of the bowtie model, and how you can implement the bow tie method of risk assessment in your organization. We'll guide you through creating effective bowtie diagrams for hazard safety management, whether you're new to risk bow ties or looking to refine your approach.
What is Bow Tie Risk Assessment
A bow tie diagram combines fault tree analysis and event tree analysis to represent risk control parameters on a common platform[1]. This risk assessment methodology visualizes possible exposures and outcomes related to hazard scenarios through a three-part structure: causes on the left, the critical event at center, and effects on the right[9].
The methodology's name derives from this visual shape. Each section serves a specific analytical function. The left side works backward from the central event to identify threats or root causes. The right side projects forward to map possible consequences and damages. The bowtie diagram positions barriers and controls between these elements that either prevent the hazard from occurring or reduce its effect.
Bow tie analysis first appeared in ICI literature during the 1980s and gained adoption after criticisms in the Cullen Report following the Piper Alpha disaster[3]. Shell developed the concept further and created THESIS, the software for bow ties. They integrated this approach into their process safety management systems[3].
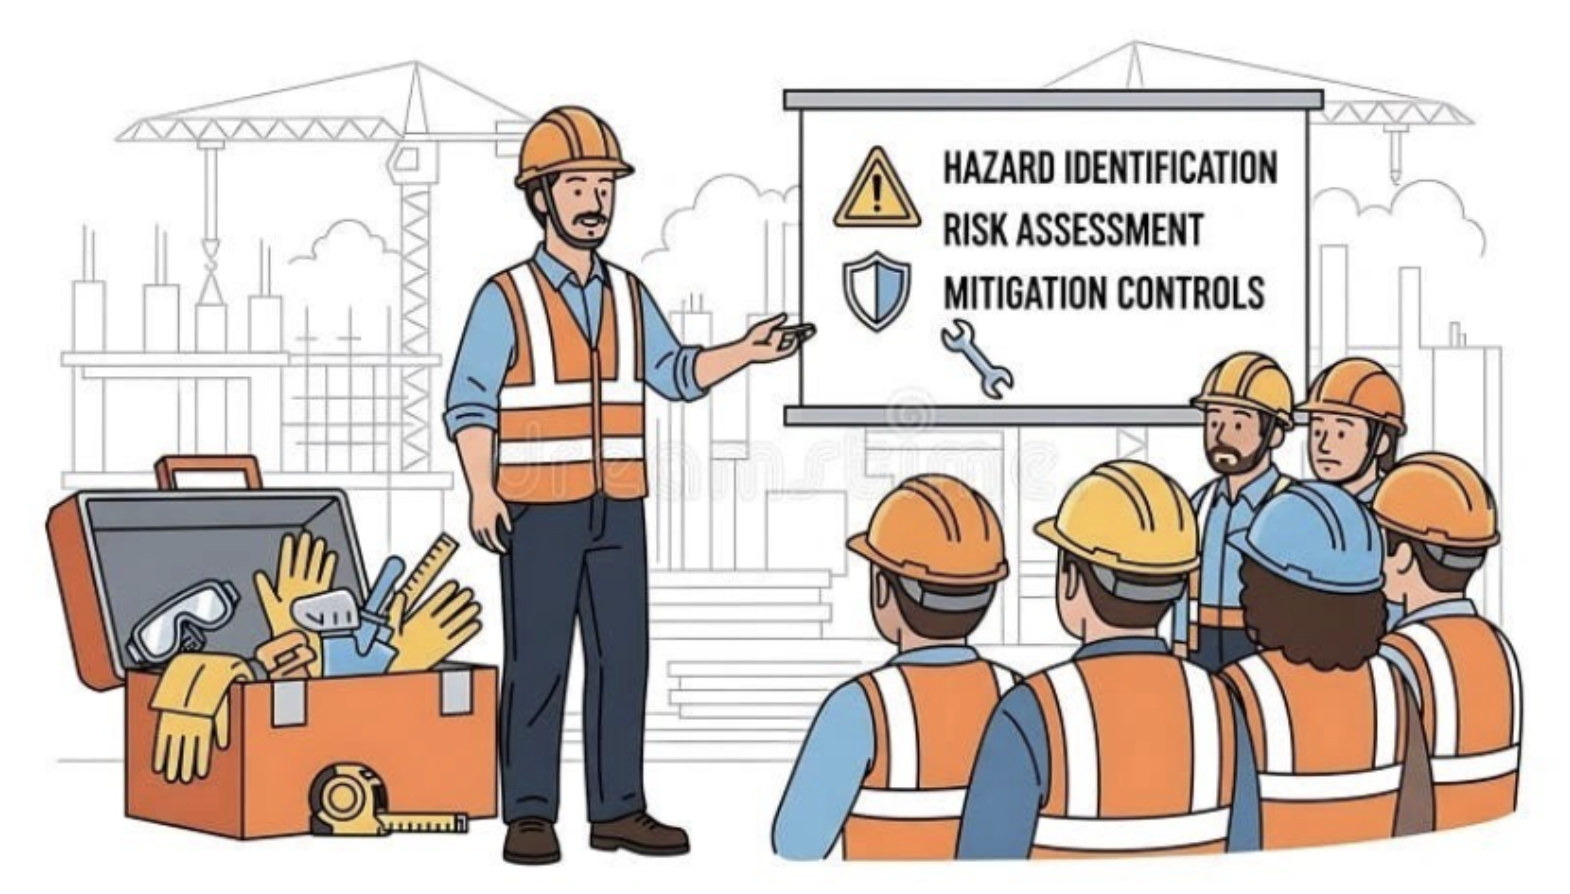
Bow tie analysis is a great way to assess process safety risk, especially for Process Hazard Analysis (PHA)[9]. The method helps organizations identify and organize risks ranging from equipment failures to employee safety concerns. It qualifies controls that can prevent risk sources from triggering events and any cascading consequences that might follow[9].
Essential Components of the Bowtie Model
Every bowtie diagram centers around one specific hazard and a single top event. The hazard represents an operation, activity, or material with potential to cause harm to people, property, environment, or business[4]. Hazards exist even when processes operate in controlled states. To name just one example, hexane contained in a tank qualifies as a hazard, while a fire with that material does not[4].
The top event marks the moment when control over the hazard is lost and harmful potential becomes realized[4]. This occurs when containment of hazardous material fails. For hexane in a tank, the top event might read 'Spill from Hexane Tank' or 'Fire at Pump'[4]. Careful specification of the top event makes bow tie construction quicker by minimizing iterations and revisions[4].
Threats appear on the left side and represent specific failures or events that could trigger the top event. Prevention barriers sit between threats and the top event. They focus on controlling operations to prevent incidents[5]. These barriers must work, be independent, and be auditable[3].
Consequences appear on the right side and depict potential outcomes from the top event. Mitigation barriers positioned here focus on ensuring unexpected events don't result in unwanted consequences[5]. The goal moves from preventing incidents to preventing harm.
Degradation factors represent conditions that reduce barrier effectiveness[6]. Safeguards address these factors and support barrier performance without preventing or mitigating risks themselves[7].
Step-by-Step Process for Conducting Bow Tie Analysis
Bow tie analysis requires systematic progression through seven interconnected steps. We begin by gathering relevant stakeholders to ensure detailed brainstorming throughout the process.
- Identify and define the hazard: Establish the foundation by pinpointing the source of potential harm that sets the scope for your bowtie diagram. To cite an instance, insulin overdose serves as a hazard in healthcare settings[2].
- Define the top event: Specify the unwanted event that could occur after the hazard materializes. The insulin example shows hypoglycaemia as the top event when blood glucose levels drop dangerously low[2].
- Identify credible threats: Brainstorm all possible threats with stakeholders. Threats for insulin overdose include accidental injection, calculation errors and intended self-harm[2].
- Map consequences: Determine potential outcomes following the top event. Hypoglycaemia consequences range from confusion and seizures to death[2].
- Position barriers: Place controls between threats and the top event (prevention) and between the top event and consequences (mitigation). Education, monitoring, labeling, antidotes and counseling function as barriers[2].
- Identify escalation factors: Conditions that reduce barrier effectiveness include lack of training awareness or equipment failure[2].
- Establish escalation factor barriers: Implement controls addressing degradation factors. Effective communication tools, equipment servicing and standardized units prevent barrier failure[2]. After this, verify the completed bowtie, assign ownership and review it on a periodic basis[8].
Conclusion
Bow tie analysis offers organizations a clear, well-laid-out approach to managing workplace hazards. We've covered everything in the bowtie model, from hazards and top events to the barriers that prevent them. We also walked through the seven-step process that guides you from hazard identification to establishing controls that work. You now have the foundational knowledge to implement bow tie risk assessment in your organization and create visual diagrams that prevent incidents before they occur.
References
[1] - https://www.sciencedirect.com/science/article/abs/pii/S0957582011000954
[3] - https://www.icheme.org/media/15543/poster-09.pdf
[8] - https://safetyculture.com/topics/risk-assessment/bowtie-analysis
[9] -https://sphera.com/resources/glossary/what-is-a-bow-tie-analysis/


.png)


.png)
.png)
.png)
.png)
.png)
.png)
.png)

.png)
.png)
.png)
.png)
.png)
.png)
.png)
.png)
.png)
.png)
.png)
.png)
.png)
.png)
.png)
.png)
.png)
.png)
.png)
.png)
.png)
.png)
.png)
.png)
.png)
.png)
.png)
.png)


.png)


Ready to Save Lives at Work?
With Impress Solutions, you’re not just getting a service, you’re securing peace of mind with a partner you can trust. Book a free consultation today, and let’s map out how we can help you save lives at work.